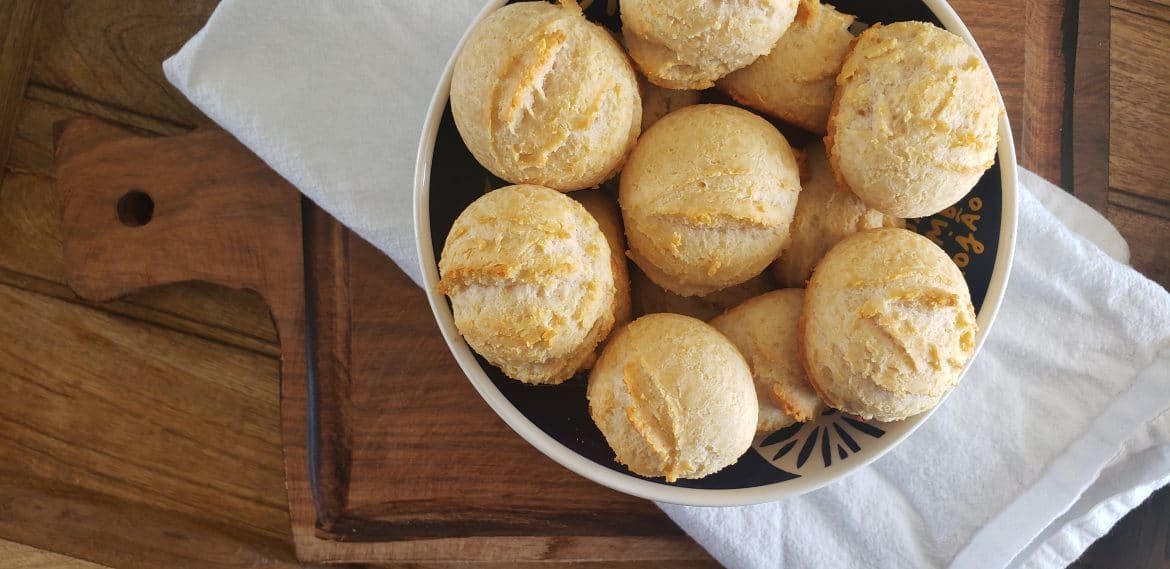
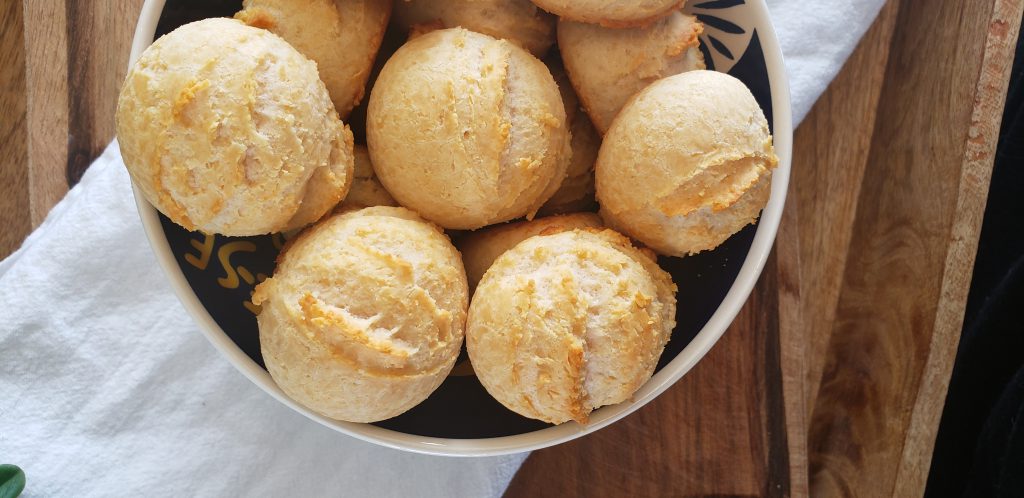
Pão-de-queijo, or Brazilian cheese bread, are a delicious, gluten-free cheese bread bites commonly found throughout Brazil. While this American version is made with just 3 ingredients that are easy to find in the United States, these cheesy bread balls have a thin outer crust with a gooey cheesiness on the inside! This easy Brazilian recipe is sure to be a crowd-pleaser; including with your little ones! Enjoy!

Maybe you’ve seen those yummy-looking cheese bread balls rolling around Pinterest? You know, those amazing gluten-free balls that have the thin crust, with a gooey, cheesy inside from Brazil? Yup….those. Ever been wanting to make them at home? Because if you have, then keep reading! With just 3 ingredients, this recipe is extremely simple and easy yet delicious!:)
How I discovered these tasty snacks
Before traveling to Rio de Janeiro, Brazil for the very first time back in 2009; I did what most of us do before traveling. I headed to Google and looked up what I needed to make sure to see, do and eat while in Rio. Anyone else? Amongst the common suggestions, was to make sure to eat pão-de-queijo, Brazilian cheese bread. Oh. My. Goodness. Google nailed it. These cheesy bread bites are amazing.
I would walk around Copacabana near my hostel, and on many a corner, were these little “fast food” places. Except replace the burgers and Coke with traditional Brazilian açaí smoothie bowls, every fresh-squeezed juice you could imagine, and small bite type food….including pão de queijo. These little places were my favorite. So during the weeks I was in Rio for a cello festival, these were a daily favorite of mine to snack on between rehearsals. Needless to say, returning back home, I missed these!
Since 2009, I’ve returned to Rio various times. And every time, the first thing I grab once I’ve made it through customs is pão de queijo with an ice-cold matte (Brazilian ice tea). This yummy combo would hold me over long enough until I got to the beach to grab more 😉
Pão-de-queijo- Brazilian cheese bread

The traditional recipe is a thin, crusty, outer part, with a cheesy yet airy inside. If that sounds amazing to you too, then add this pão de queijo mix to your Amazon cart as well! It’s the authentic mix that you would eat at home in Brazil! But besides this mix, I’ve yet to come across that authentic taste. And living in Montana…. it’s even harder to find the real deal. So while this recipe is not exactly what you would find in Brazil, its simple, and easy-to-find ingredients make it the perfect alternative.
Between my 3 ingredients Brazilian cheese bread recipe, and this authentic pão de queijo mix, you will have two perfect options! So while you wait for your Amazon order with your mixes to arrive, it’s time to whip up the next best option: homemade Brazilian pão de quiejo! Even my Brazilian hubby loves these! So I hope you enjoy them as much as we do! Bom Apetite!
This post contains affiliate links, which means I may earn a small commission if you purchase through them—at no extra cost to you. Your support means the world and helps keep this blog running. I only share products we actually use and love, and I’ve included them here for your convenience. Thank you for supporting our journey!
Ingredients for this recipe:

- Prep time: 10 minutes
- Bake time: 15 minutes
- Yields: 15 individual pão-de-queijo balls
How to make Brazilian cheese bread balls:

Mixed, it should be creamy and not crumbling 
Press firmly into the cookie scoop 
The balls should hold their shape and not be crumbling apart. If not, add a teaspoon + of water to rest of mixture.
Step 1: Preheat oven
Preheat oven to 400 F. I use a regular bake setting in my oven, not convection. I also have found that these cook best and evenly if cooked one sheet pan at a time. (we are always doing double batches and so cook each batch separately for best results)!
Step 2: Mix dry ingredients
In a large mixing bowl, add the Parmesan cheese and tapioca flour and mix together with a large mixing spoon.
Step 3: Creme de leite
Creme de leite has a consistency a lot like heavy cream or almost a custard. You will notice that in addition to the creme de leite, there is a watery liquid at the bottom.
Tip: if it gets too sticky, add a Tablespoon of each parmesan cheese and tapioca flour back into the mixture until it reaches the right consistency.
Step 4: Mix all ingredients together
Mix in the creme de leite with the dry ingredients.
(Scrape the bottom of the bowl making sure all the dry ingredients are thoroughly mixed).
Step 5: Make balls using a cookie scoop
Using this cookie scoop, fill with the mixture and press down.
I love this one I found on Amazon. But as long as it is a 1.5 tablespoon scoop, your cook time won’t be affected based on this recipe.
Step 6: Arrange on a cookie sheet
Arrange on a sprayed cookie sheet about 1.5” apart.
If when you go to place the balls onto the cookie sheet, the ball falls apart and crumbles a bit, then you need to go back and add another Tablespoon or so of water until the mixture reaches the right consistency.
The balls should easily come out of the cookie scoop and hold their shape.
Step 7: Bake
Cook 15 minutes until they are LIGHTLY brown. Start with 15 minutes! Break one open at the 15-minute mark. It should be gooey cheesy in the middle and the bottom lightly browned.
If it needs a little more time, do one minute more at a time! If you overcook, they just taste like bread rather than gooey, yummy cheese bread balls.
Step 8: Cool and enjoy!
Pull out of the oven and let cool for a few minutes before enjoying!

Equipment
Ingredients
- 1 cup Tapioca flour
- 1 cup parmesan cheese finely grated
- 1 can Creme de Leite
Instructions
- Preheat oven: Preheat oven to 400 F.
- Mix dry ingredients: In a large mixing bowl, add in the Parmesan cheese and tapioca flour and mix with a large mixing spoon.
- Creme de leite: Creme de leite has a consistency a lot like heavy cream or almost a custard. You will notice that in addition to the creme de leite, there is a watery liquid at the bottom.
- Mix all ingredients: Mix in the creme de leite with the same large wooden spoon
(Scrape the bottom of the bowl making sure all the dry ingredients are thoroughly mixed)
Tip: if it gets too sticky, add a Tablespoon of each the parmesan cheese and tapioca flour back into the mixture until it reaches the right consistency. - Make "balls" using a scoop: Using this cookie scoop, fill with the mixture and press down. I love this one I found on Amazon. But as long as it is a 1.5 tablespoon scoop, your cook time won't be affected based on this recipe.
- Arrange on a cookie sheet: Arrange on a sprayed cookie sheet about 1.5” apart
- Bake: Cook 15-17 minutes until they are lightly brown. Start with 15 minutes! Break one open at the 15-minute mark. It should be gooey cheesy in the middle and the bottom/top lightly browned.
If it needs a little more time, do one minute more at a time! If you overcook, they just taste like bread rather than gooey, yummy cheese bread balls. - Cool and enjoy!: Pull out of the oven and let cool for a few minutes before enjoying!
Enjoying fresh pão de queijo
These are best eaten warm out of the oven. But if you are a planner and well organized, you can follow the recipe, create the balls ahead of time, and then freeze before cooking. Then later, pull them out, and within a half-hour of baking, you have fresh pão de queijo! But otherwise, start to finish, it only takes about 30 minutes to have them ready!
Tasty twists on pão de queijo

In Brazil, they are normally served in a small paper bag containing a single serving size for one person.
If you want to spice it up, try separating in half, and adding dolce de leite (dolce de leche), or requeijão (cheese spread) in the middle.
If you are looking for a tasty twist on tomorrow’s sandwich, try this! So before rolling the balls, use a larger scoop which will result in balls that are large enough for a small sandwich. After they are done baking, cut in half, and you have delicious pão-de-queijo bread for your sandwich!
Or bake to go along with these traditional Brazilian black beans, or any of your favorite soups! Some of our favorite soups to have Brazilian cheese bread with are this Instant Pot minestrone soup , Instant Pot creamy chicken tortellini soup, or this Instant Pot Zuppa Toscana soup!

Looking for more yummy Brazilian recipes or tips to make life a little simpler and less chaotic? Subscribe to tidymo.com to be the first to hear about new info!
XO,
Morgan


