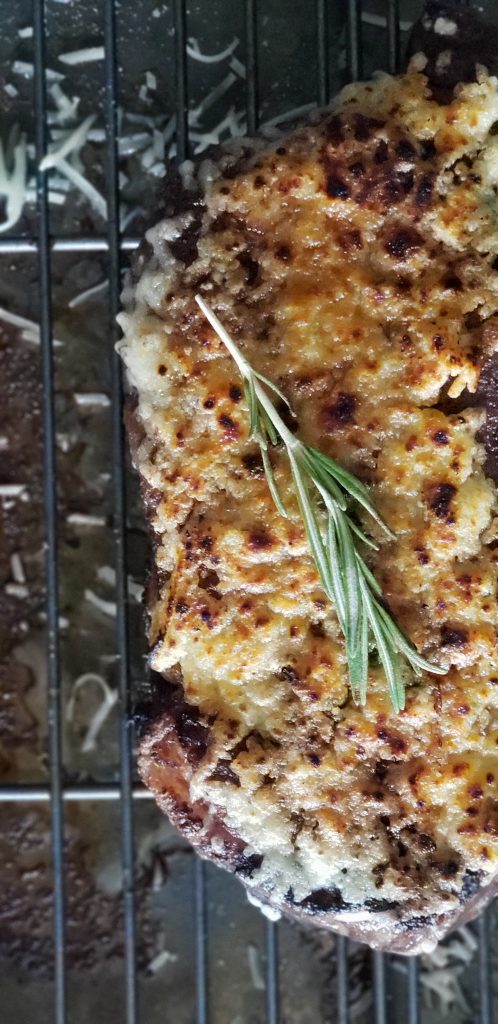
Life is non-stop, weeknights are busy, and let’s face it, dinner time is crazy! So let’s keep this simple, shall we?
If you haven’t jumped on the Sous vide wagon, then read here why you need this in your life to help simplify bewitching hour and dinner time. Or to simply help you to cook an amazing meal without the hours of prep and work!
I love how quick, simple and quite honestly, how this recipe allows for an amazing steak, with just 4 simple ingredients that you probably have in your cupboard right now! I don’t know about you, but when that dinner time is approaching and I’m trying to pull dinner together, it is so frustrating to find a recipe that looks great but takes 15+ ingredients. Then to read the ingredient list, make it part way down, and realize this recipe would require a trip to the grocery store.
Trip to the grocery store, at bewitching hour, with kids in tow? Nope. No thanks!
So get ready for a simple, easy and delicious steak recipe that you can whip out with very little prep and clean up!
As a blogger, I may earn a small commission for any purchases made through the affiliate links on this site. I want to make it clear that your support means a lot to me and helps keep this blog running. Please note that using these links will not add any extra cost to your purchase. I have included them for your convenience, and I appreciate your support in using them.
What you need:
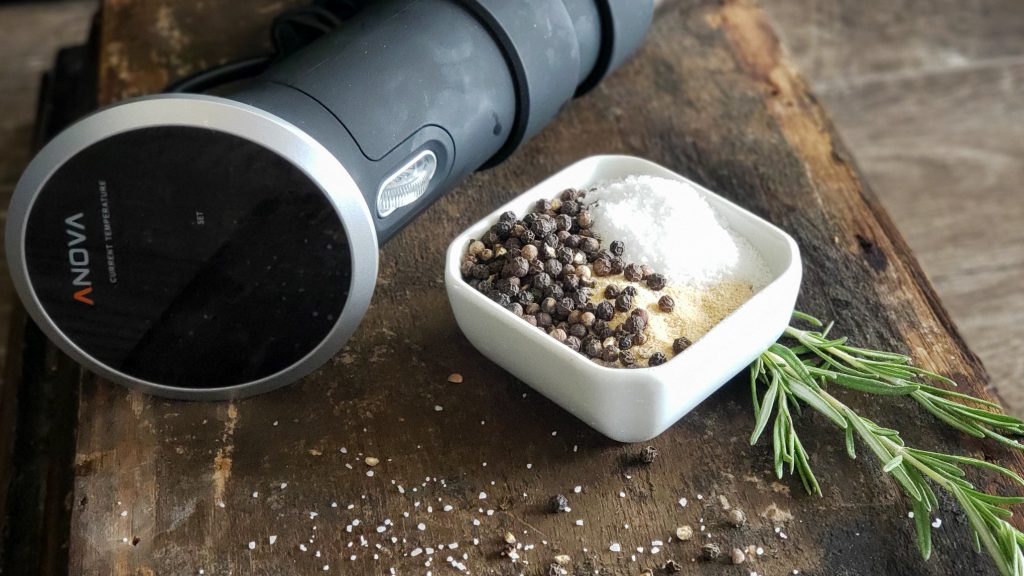
- 1″ thick ribeye or tenderloin steaks- how many you use is up to you and the amount you need.
- Garlic powder
- Kosher or Rock Salt
- Black pepper
- Fresh rosemary stalk- fresh is best but dried will work too!
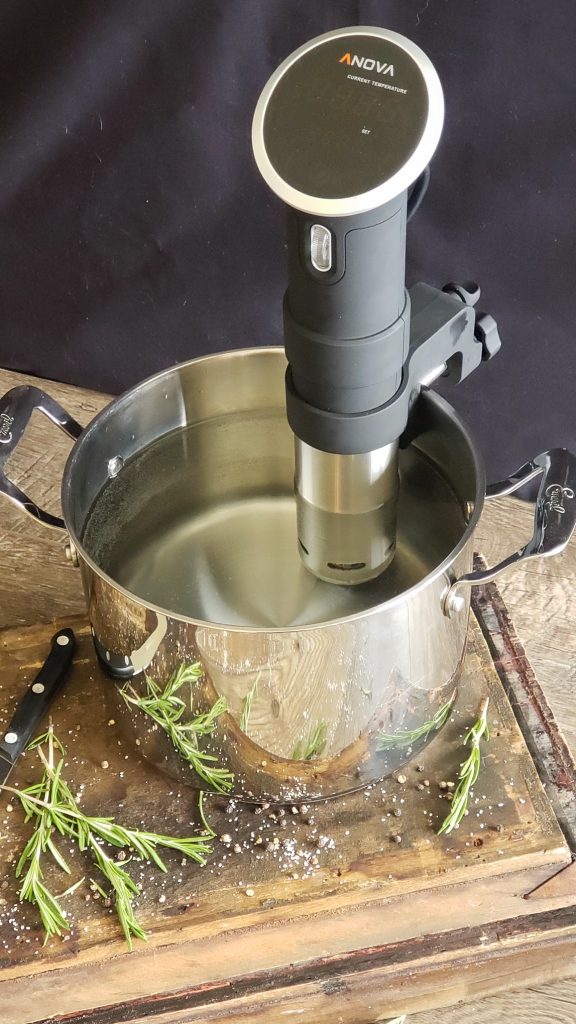
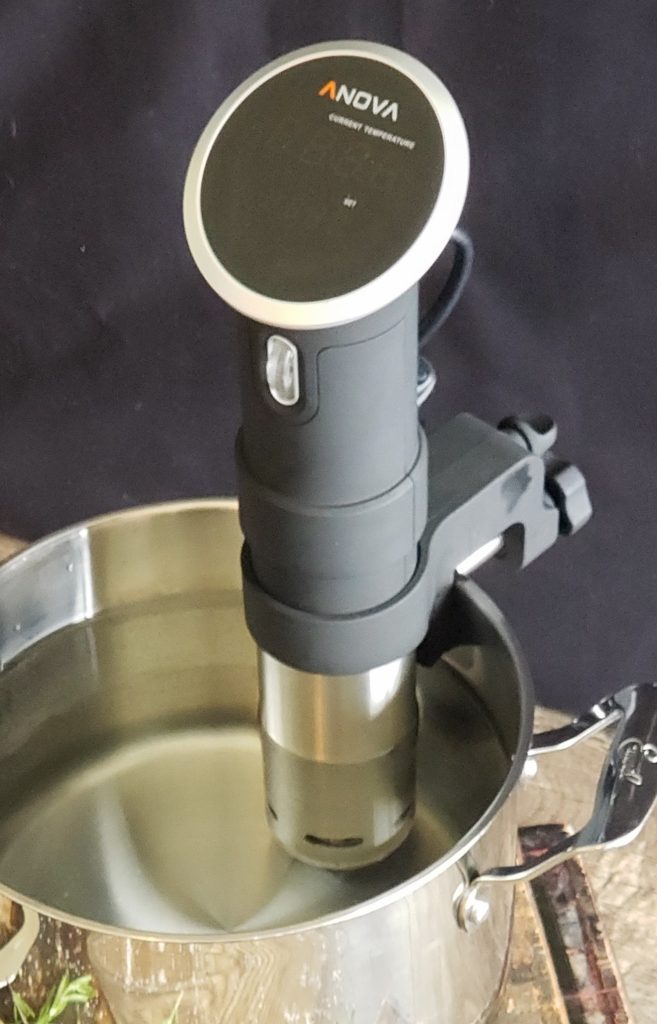
- Anova Sous Vide- I like this brand! Hubby did a ton of research and this was his favorite!
- Sear torch- this is the one we use and it works amazingly!
- Gallon freezer Ziplock baggies- one for each piece of meat
- Large pot
- Plastic clips- something simple such as these will work.
Optional:
While these certainly aren’t necessary, they will make cooking with a Sous vide even easier! If you choose to go this route, omit the Ziploc bags, the pot and plastic clips from what you need. These items will replace those DIY options.
- Acrylic bin– This is to place the vacuumed sealed meat into. It replaces the need of a pot.
- Metal rack– This secures the meat and keeps it submerged under water.
- Weights – These weights are an alternative option to the metal rack.
- Vacuum sealer– This keeps the meat airtight and water free while it cooks submerged in the water bath.
Directions:
Step 1 – Fill large pot with warm tap water
There are two options when it comes to cooking your meat:
- An Acrylic bin – like anything you do, it is always easiest and quickest when you have the tools designed for the task. This acrylic bin sidesteps all the little “extra steps” required if you use a regular kitchen pot. However, it definitely isn’t required!
- A pot – any large pot you have for making soups, chili, etc. will work.
Fill your container with warm tap water. This will help the water to reach temperature quicker, shortening your wait time.
Step 2 – Set temperature on your Sous Vide
For this recipe we always set ours for 129 F. This is for a medium-rare piece of meat.
Here are the other temperature options:
Medium rare – 129 F
Medium – 133 F
Medium well – 140 F
While we love our Anova Sous vide, and the app that comes with it is great, my “handy hubby” found another app that he likes to use even more! Called the Joule app, he found it has been most helpful for cooking!
It is great because it’s free, but it also gives you a visual guide to what your meat will look like when it’s done at varying temperatures.
Step 3 – Heat water
Attach the Sous vide to the pot or the acrylic bin. Let the machine heat up the water.
When the water reaches the temperature you pre-set it to, it will beep alerting you to the fact it is ready. Or if you are using an app, you will get a notification.
Step 4 – Cut/prepare meat
While the water is heating, this is the perfect time to prepare your meat!
Using a cutting board for meat, cut your steaks to 1″ steaks. If needed, trim to your liking.
Depending on where you live, check out and compare prices between your local butcher shop and the grocery store.
Everywhere won’t be the same, however, we found that our butcher shop has better cuts of meats and is actually less expensive. Which I wouldn’t have thought. So check that out! A better and fresh cut will make a huge difference in how good your steak is!
Step 5 – Season meat
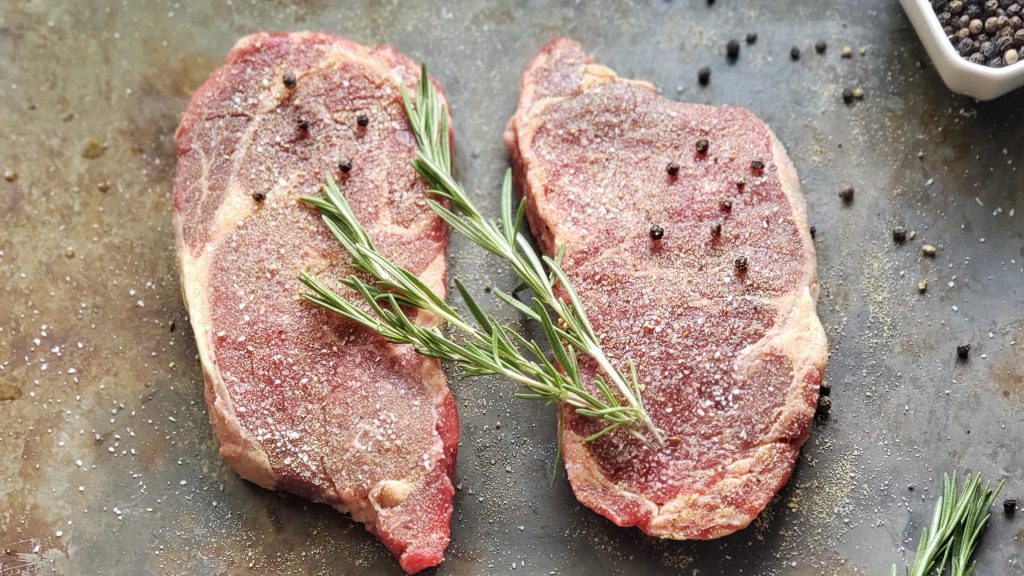
My favorite part of this recipe is that the seasoning is simple and you most likely already have them all in your cupboard!
Season both sizes of the steak with:
- Garlic powder
- Salt
- Ground pepper
- Fresh rosemary
Season to taste, cover the entire face of the steak with a thin layer of seasoning. Pat down to help seasoning adhere to the meat. Add the rosemary, and you are good to go to the next step!
Step 6 – Vacuum seal meat in a bag
There are two options when it comes to vacuum sealing your meat:
- Vacuum sealer – They make a variety of vacuum sealers such as this one that make it easy to quickly, and thoroughly seal your meat.
- DIY Vacuum sealer – Or you can do it yourself using a gallon freezer baggie.
How to DIY vacuum seal:
- Get a gallon sized, Ziploc Freezer Bag – one for each piece of meat.
- Put your steak in the bag.
- Close the top zipper of the bag except for one little 2-inch section on one corner.
- Submerge every part of the bag/meat into a container of water with the exception of the two-inch section that is open.
- Get as much air out as you can.
- While the bag is still submerged, close the final two inches of the Ziplock.
Step 7 – Place bags containing meat into the pot
There are three options when it comes to how to place the bags of meat in the pot:
- Rack – This rack is awesome because it holds your vacuum sealed steaks in the water. You simply slide the meat into the slot of the rack. Once it is in, the rack closes on top to ensure the meat is held in place.
- Weights – These weights easily keep the vacuumed sealed bag submerged underwater! These are a secondary option to the rack.
- Clips – This is the DIY version. Hang the bags on the side of the pot with the zipper part hanging over and resting on the outside of the pot. Using these clips, secure the bag to the rim of the pot. For extra peace of mind, take a table knife and place it vertically into the pot creating a “sandwich” with the side of the pot, knife, and bag in the middle. Secure with the same clip.
If you are using a DIY sealing method, use option #3, with the top of the bags out of the water to ensure no water leaks into the meat.
Make sure that whatever method you choose to use, that the bags will stay submerged and not float. If they float, this will cause the meat to not cook evenly.
Step 8 – Cook
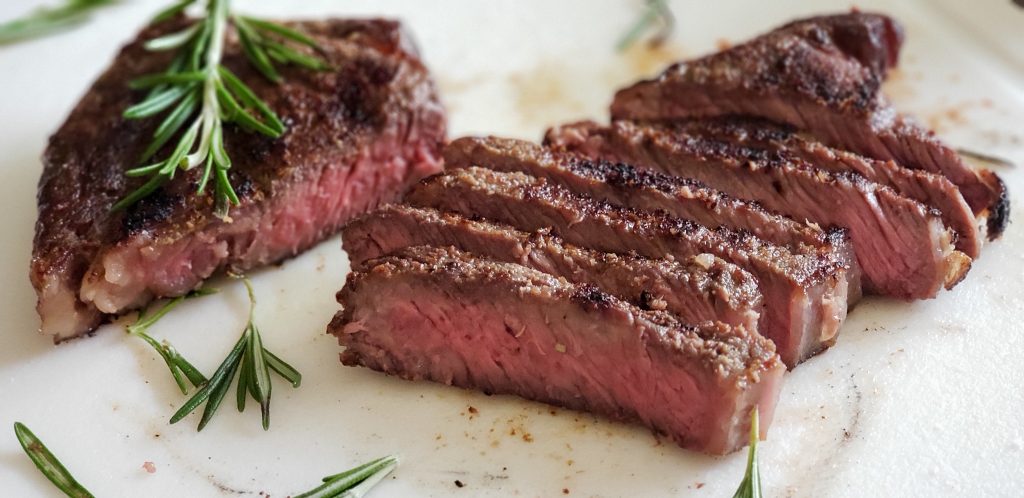
Set timer and cook for one hour.
My favorite part of this method of cooking is that it is virtually impossible to overcook!
The meat will be ready in an hour, but let’s say you forget and it has been 2 hours or even 6 hours; the meat will still be cooked perfectly!!!!!
That is perfect for busy life, as well as people like me that can’t cook meat correctly to save my life 😉
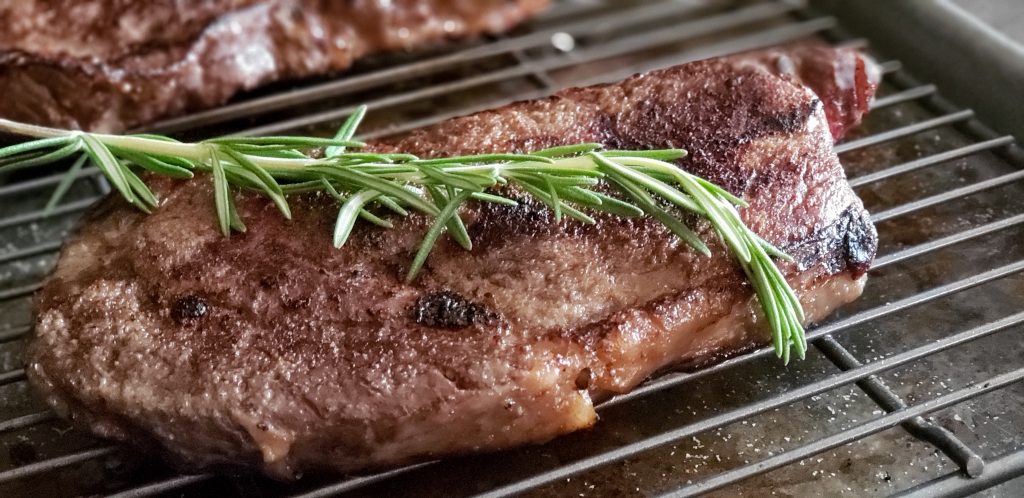
Step 9 – Dry meat with paper towels
Take a large cookie sheet, place a drying rack on the cookie sheet and lay a layer of paper towels over the drying rack.
Then place the meat on top of the paper towels. With extra paper towels, pat both sides dry.
Make sure to not skip this step. “Drying” the meat will help it to sear better!
Next, remove all the paper towels and discard.
Step 10 – Sear
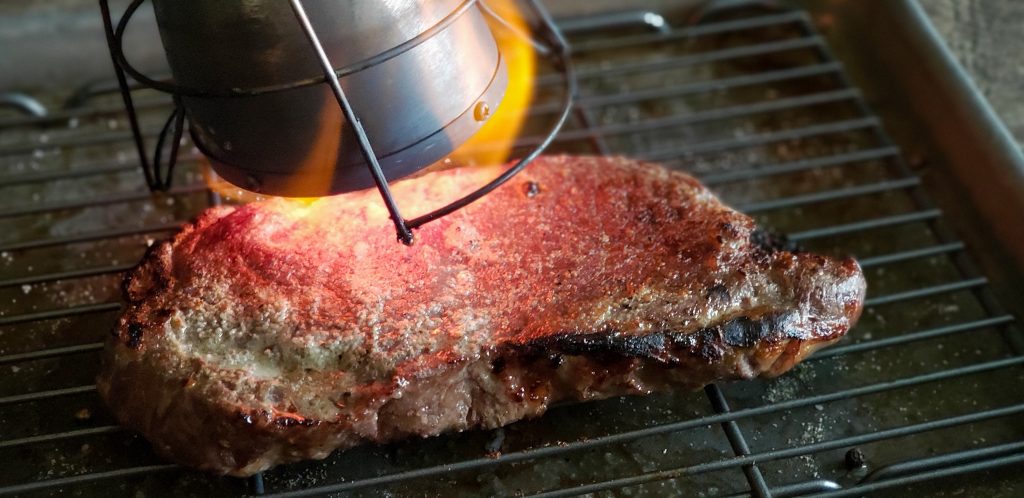
There are two options when it comes to how to sear your meat:
- Use a sear torch – Now before you just go grab your propane torch from the garage, LISTEN UP 🙂 This is a special torch specifically for searing food! A regular propane torch will make your food smell and taste like propane. Using a Searzall torch attachment is the preferred method for several reasons. One, it utilizes a large, hot and even flame allowing you to evenly sear the meat. Two, you can see the side you are seeing allowing you to better control the searing!
- Use a cast iron skillet – If you are going to go with this method, it has to be a cast iron, and it needs to be HOT!
The reason the sear torch is preferred is that the Sous vide method is what cooks the meat. The final step is simply searing the meat because when it is done with the Sous vide, it is a strange gray color 🙂 Hey, being honest here 😉
What is great about the torch, is that there is little to no extra cooking of the meat when you finish it this way. However if you choose to sear with the grill or a pan, you can cause the meat to continue to cook.
That’s it!
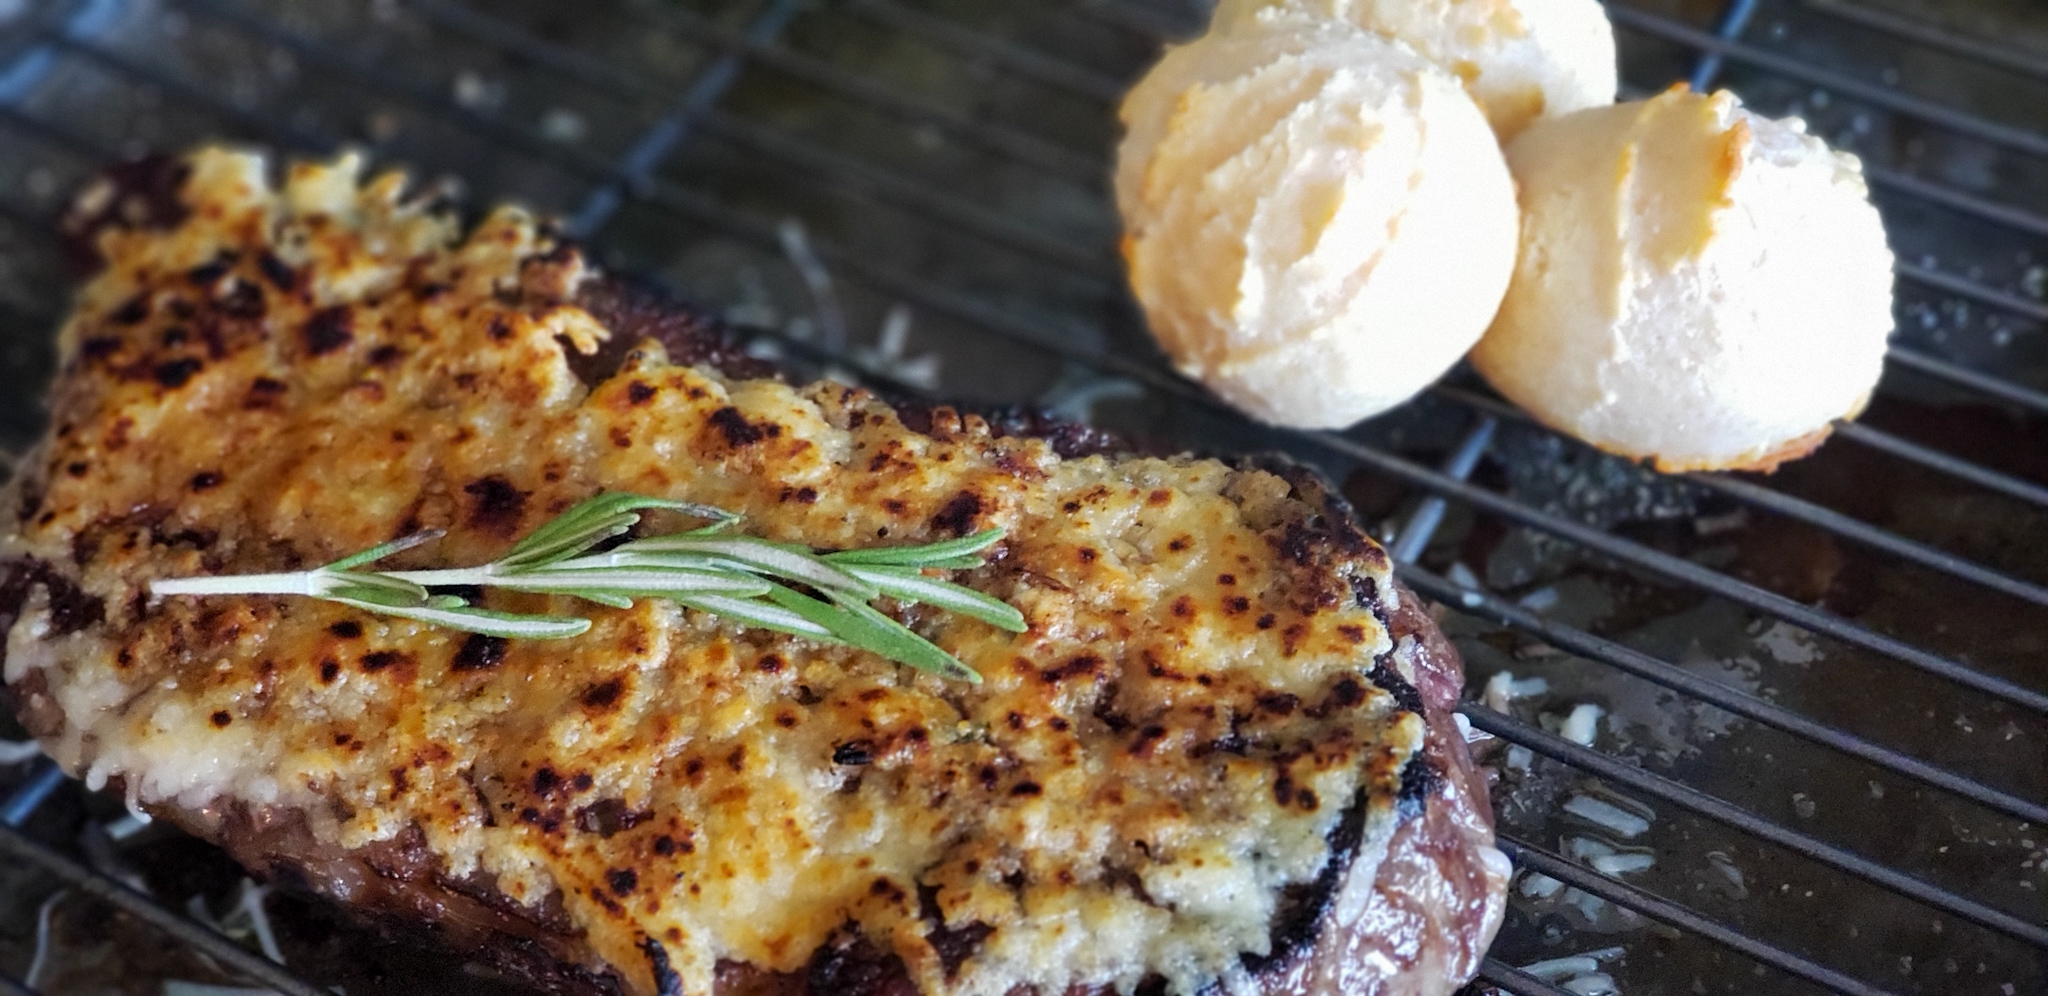
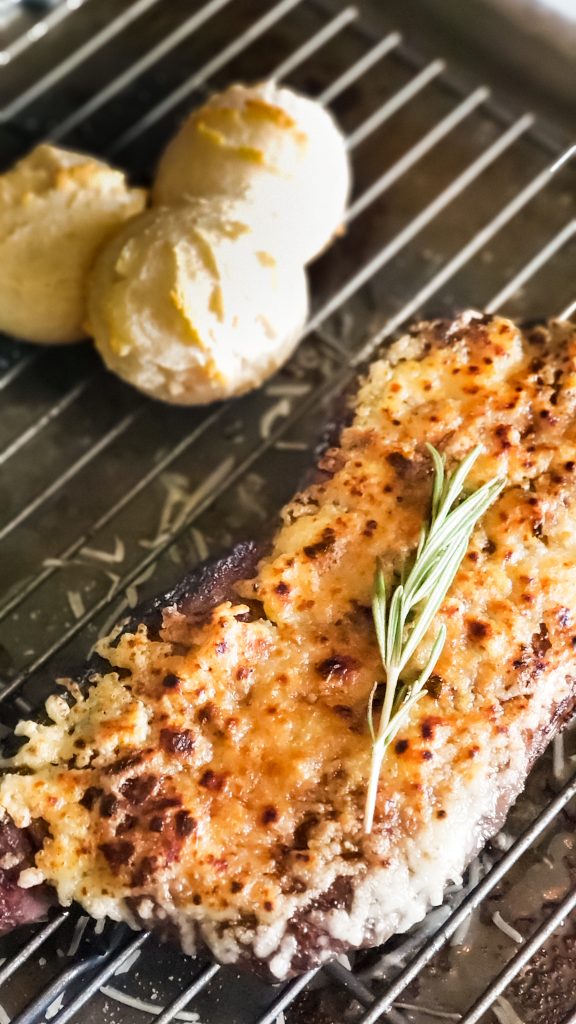
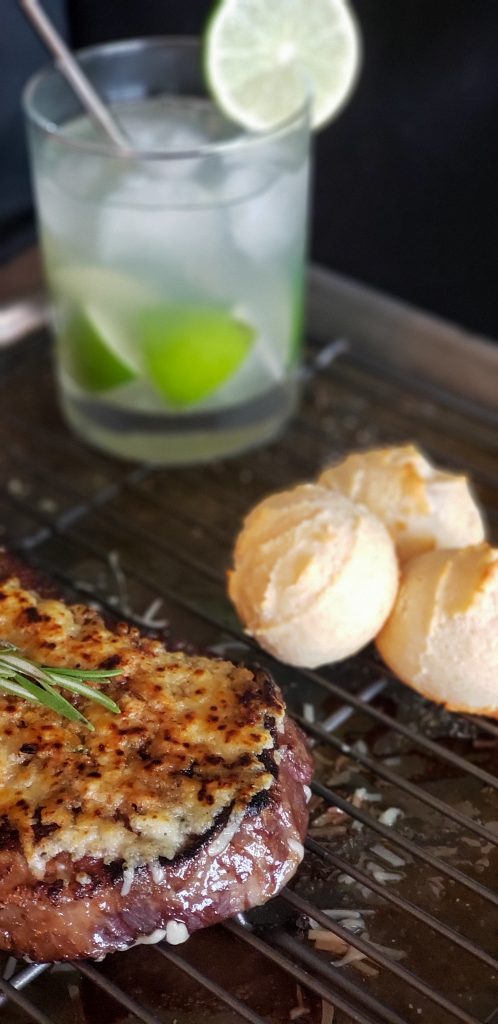
Dinner is on! See how simple that was! This Sous vide is a great way to quickly get a delicious piece of meat on the table for dinner! Pair it with any side you like!
Our favorites, especially coming up on BBQ season is to eat with these Brazilian cheese bread (pão de queijo) and enjoy a Brazilian Caipirinha for a summer cocktail! Or for a non-alcoholic option, try this refreshing Brazilian ice tea (matte) or homemade lemonade 🙂
What recipes have you tried your Sous vide with? What should I try next?
If you enjoyed this recipe, and the ease of cooking with a Sous vide, then make sure to subscribe to tidymo.com to have the newest recipes delivered straight to your inbox 😉
Enjoy!
XO,
Morgan

